Fitbit is the fifth largest wearable company in the market, it is popularly known for its quality smartwatches & fitness tracker. Its lineup support both Android and iOS. And stands out by offering several smart features.
Under the hood, the Fitbit watch has a lot of things to be explored. However, we don’t really explore the device and miss out on the advanced stuff that the watch can do. Using the Fitbit with its full potential will do wonders.
If you own a Fitbit smartwatch or planning to get one, here are a few nifty tips and tricks to get the most out of your Fitbit watch.
Related Post to Read Later
- 15 Best Fitbit Clock Faces to Install (Free/Paid)
- How to Pay for Fitbit Clock Face? All You Need To Know
Cool Things to Do With Fitbit Smartwatches
1. Install Apps
Supported Devices: Fitbit Versa Series, Fitbit Sense, Fitbit Ionic, and Fitbit Charge 4
Apps can make a lot of stuff easy. Fitbit smartwatches support installing a wide variety of apps, including popular ones such as Uber, Spotify, Deezer, and more. Apart from that, you can install mini-games like flappy birds, snakes, Tic Tac Toe, etc. These apps & games can be found on the official Fitbit app. So first, set up the official Fitbit app to continue installing the apps.
How to Install Apps on Fitbit Smartwatches?
- Open the Fitbit Application > Go to Accounts > Select your Fitbit > Apps
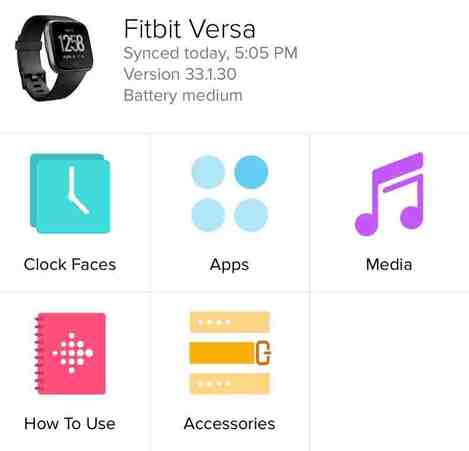
The apps section is divided into two sections; currently installed apps & all apps. Tap on all apps to explore the Fitbit app store to install your favorites.
2. Create Key Shortcuts
Supported Devices: Fitbit Versa, Fitbit Versa 2, Fitbit Versa 3, and Fitbit Sense.
On Fitbit smartwatches, it is possible to create keypress shortcuts to make navigation easier. The haptic button present on the watch is quite helpful for launching apps.
To activate, go to settings > scroll down to shortcuts to set it up.
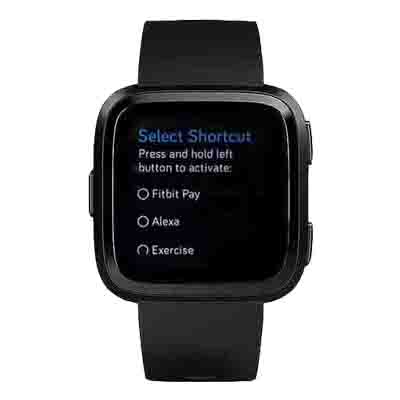
There you’ll get an option to set up what the Fitbit will do on long-pressing & double pressing the button on the watch. By this, you can quickly access Settings, Alexa, Find My Phone, Fitbit Pay, and more. Overall, this feature enhances your watch usage experience.
3. Set Up Widgets
Supported Devices: Fitbit Versa, Fitbit Versa 2, Fitbit Versa 3, and Fitbit Sense.
Let’s admit, Widgets are the most essential feature as it makes access easier. By setting up the widget on your Fitbit, get quick access to your daily stats, water intake, weight, and more. Even check the weather condition at a glance before planning to go out for a walk.
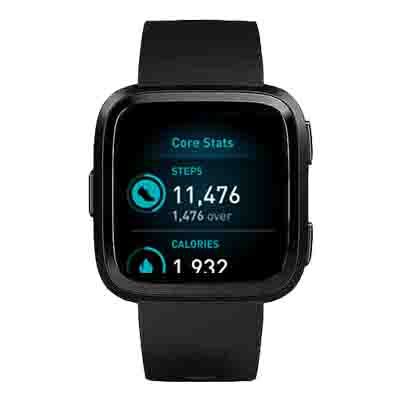
To access the widgets section, swipe up from the clock face to see the widgets available. And at the bottom, tap on manage to add more widgets if needed.
4. Add More Watch Faces
Supported Devices: All Fitbit Watches.
Watch faces are amazing. Fitbit offers hundreds of watch faces to customize the watch. However, it has the limitation to have only five of them on the watch. So you will have to replace them with your favorite ones from the app.
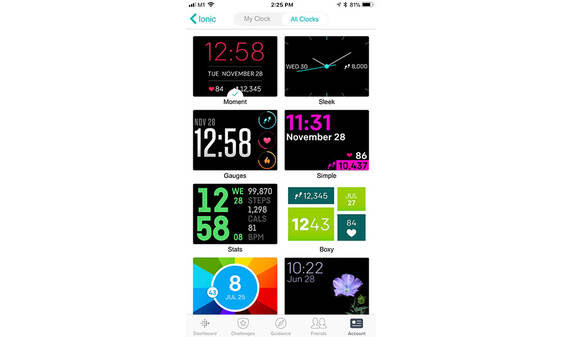
How to Add More Watch Faces on Fitbit?
- Open the Fitbit app > Go to Accounts > Select your Fitbit > Click on Clock faces > All Clock Faces.
Note – All the watch faces are not FREE. Some of them are paid to use.
Related Post – 15 Best Fitbit Clock Faces to Install
5. Set up Notifications
Supported Devices: All Fitbit Watches.
Frequently checking phones to know what’s popping is quite inconvenient when you have a watch that shows notifications from the wrist. Fitbit can send smart notifications from your phone, including text messages, phone calls, or app notifications.
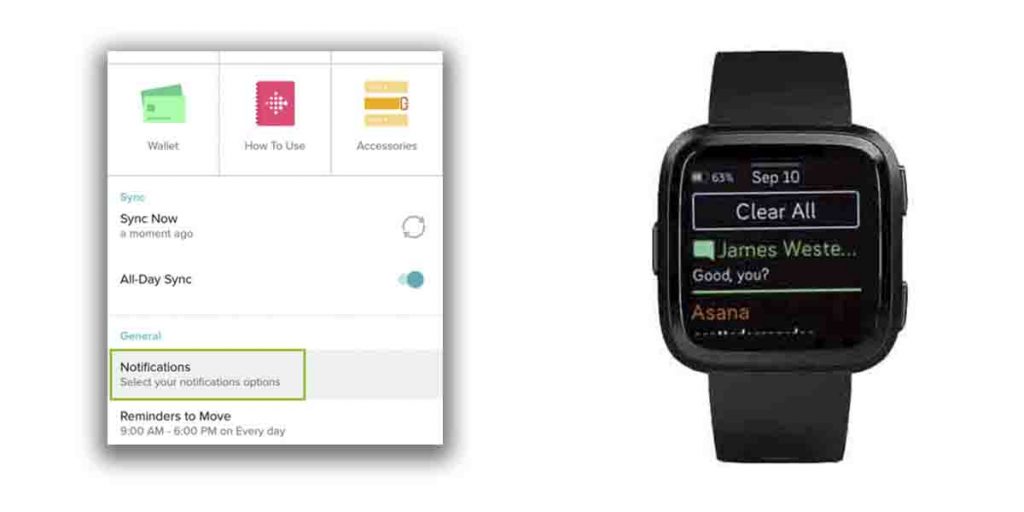
How to enable notifications on Fitbit Smartwatches?
- Open the Fitbit App > Select Account > Select your Fitbit Device > Go to Notifications > Enable it.
Once enabled, manually select the apps to send notifications. It is recommended not to allow too many apps. Instead, select the important one to get notifications from.
6. Schedule Sleep Mode
Supported Devices: Fitbit Ionic, Fitbit Versa, Fitbit Versa 2, Fitbit Versa 3, Fitbit Charge 4, Fitbit Charge 3 & Fitbit Sense.
You might not want your Fitbit to disturb you while you’re sleeping. To make sure you won’t get disturbed by the notifications in the middle of the night, scheduling the Sleep Mode will be the right move.
By scheduling this, it mutes your watch from getting notifications, goal celebrations, and reminder sounds. Moreover, the watch’s brightness sets to dim & turns off the always-on display.
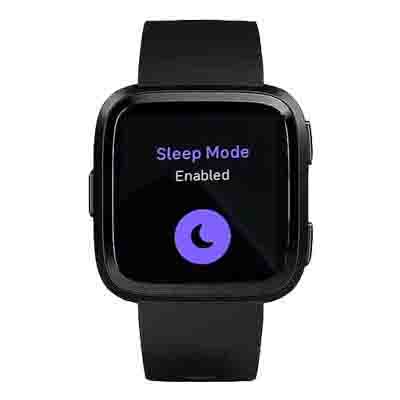
How to schedule Sleep Mode on Fitbit Watch?
- On the watch, swipe left from the home screen.
- Go to Settings.
- Scroll down to quiet modes and tap on it.
- Find sleep mode. Below that, tap on Schedule mode.
- Then, schedule the sleep mode by adding the time.
7. Set Goals & Targets
Supported Devices: All Fitbit Watches.
Fitbit has a feature to set up primary goals and activity targets. This feature helps you stay focused on your fitness journey by giving you the motivation to keep going.
By default, Fitbit tracks steps as the main goal. However, you can choose between five main goals, including steps, distance, calories burned, floors climbed, and active minutes.
Setting a primary goal is up to your preference. For example, suppose you are a cyclist, so tracking steps is unreasonable. The better solution is to set distance or calories burned as your primary goal. Note that you cannot set multiple activities as the primary goal simultaneously.
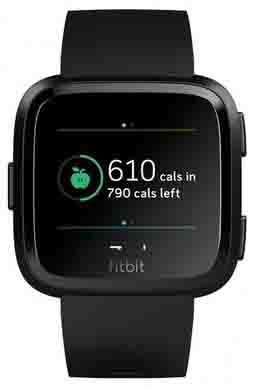
How to set up primary goals & targets on Fitbit?
- Open the Fitbit App > Go to Accounts > Select your Fitbit device > Scroll down to Main Goal > Select anyone from the list.
- After you set the main goal, it’s time to add your target by specifying the values. For instance, setting a target of 1000 steps.
When the goal is completed the watch vibrates shows an animation to celebrate your victory.
8. Pay on the Go
Supported Devices: Fitbit Charge 4, Fitbit Ionic, Fitbit Sense, Fitbit Versa 2, Fitbit Versa 3, and Fitbit Charge 3 editions.
Like Apple & Google pay, Fitbit allows you to make secure contactless transactions from the watch. Having this feature makes the checkout process faster as you don’t have to pull out your credit cards to make the payment.
Moreover, it becomes convenient & effortless because it gives you freedom from carrying physical cards everywhere you go.
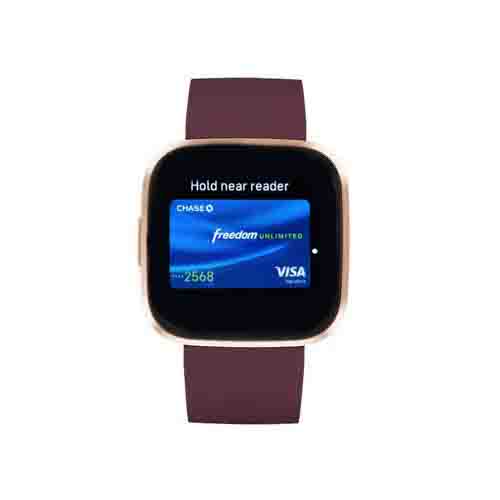
How to set up Fitbit Pay on the watch?
- Open the Fitbit App > Go to Accounts > Select your Fitbit device > Tap on Wallet > Create PIN > Finally, Enter your Card Info.
Note – All banks are not supported. You will find the list of supported banks on the Fitbit Official website.
9. Set Up Bluetooth Audio Devices
Supported Devices: Fitbit Ionic, Fitbit Versa, Fitbit Versa 2, Fitbit Versa 3 & Fitbit Sense.
As you might know that Fitbit supports music playback, the watch comes preloaded with Spotify that lets you listen to playlists on your Fitbit watch. But did you know? You can pair Bluetooth audio devices on the Fitbit, including speakers & headphones.
That’s actually true! By pairing an audio device with Fitbit, you can enjoy listening to songs through a physical device like headphones and speakers. If you love going out for a walk, pair your Fitbit with the Bluetooth headsets and enjoy music on the go.
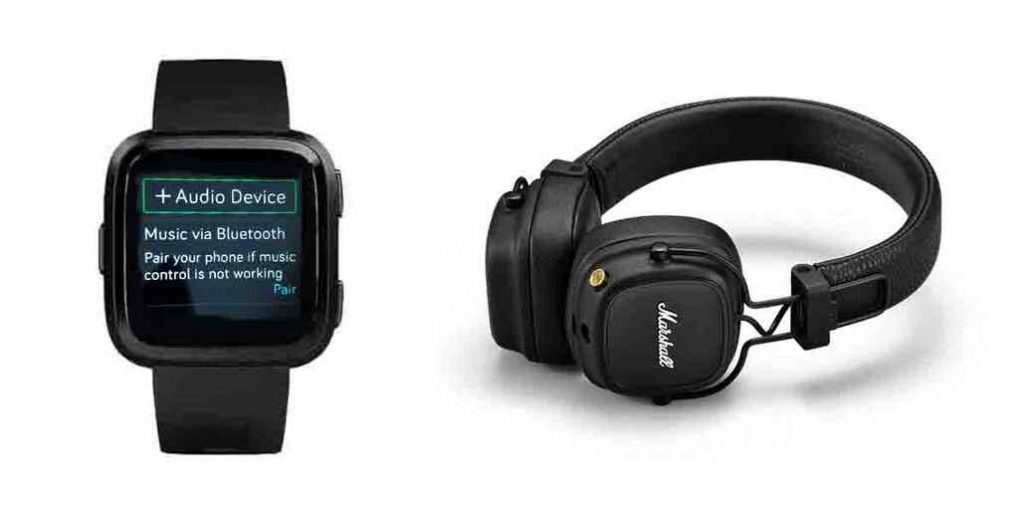
How to connect Bluetooth audio devices to Fitbit watch?
- On the watch, Go to Settings
- Then, tap on the Bluetooth option (new devices has Vibration & audio option )
- Tap on manage devices.
- Then, it will search nearby devices. When found, select the device & pair.
- When pairing is complete, a checkmark appears on the screen.
Note – Fitbit allows you to stream music using Spotify or Deezer as well as playing offline music. For offline music, you need to transfer some songs from PC to Fitbit.
10. Custom Replies
Supported Devices: Fitbit Charge 3, Fitbit Charge 4, Fitbit Ionic, Fitbit Sense, and Fitbit Versa series.
The best thing about Fitbit is it supports quick replies. With quick replies, reply to messages directly from the wrist without taking out the phone from the pocket. What’s even awesome is you can add custom replies for a more quick response.
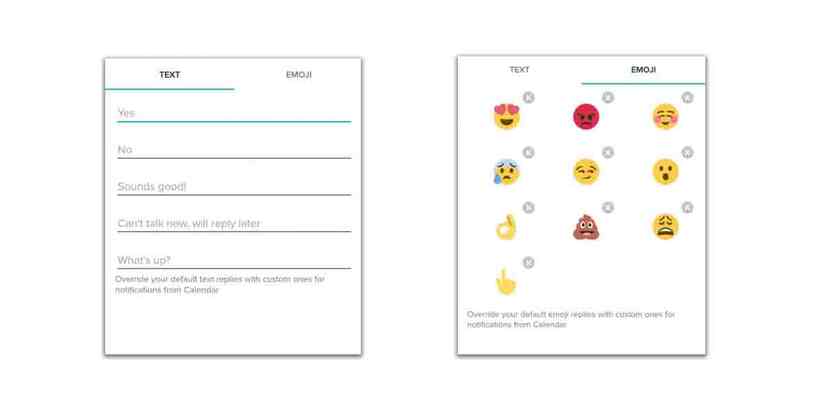
How to add Custom Replies on Fitbit Watch?
- Open the Fitbit App > Select Account > Select your Fitbit Device > Go to Notifications.
- Scroll down to the Quick Replies option. Tap on it.
- On the next page, again you’ll find the Quick Replies option. Tap on it.
- That’s All. Now you can add custom messages and emojis.
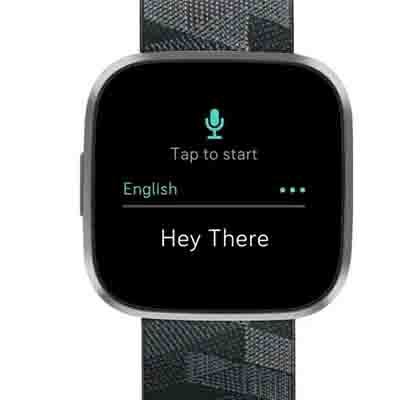
The device allows to save up to five custom replies. I agree that’s not enough. Therefore, you can enable an interesting option called Voice Replies. So next time when you get a notification, tap on the reply button > record your message > and send. Fitbit will convert your voice into text & send it.
Note – Quick replies are supported for text messages and social media apps such as WhatsApp, Facebook, Instagram, etc.
Similar Post

