The midrange flagship Galaxy Watch Active 2 features a super AMOLED display which comes with Gorilla Glass DX+ protection. But still, there is a high chance of damaging your watch screen. Why is it so?
According to Corning, the Gorilla Glass DX+ protection can protect your watch from scratches, but that doesn’t mean they won’t shatter.
Most people have reported, they either accidentally drop their watch facing down from a height or their screen comes under some heavy object. The point is, Can you replace your Galaxy Watch Active 2 screen on your own?
To answer this, with the necessary replacement parts and the correct tools, you can surely complete this process on your own. And, if you’re not a DIY person, then I’ve mentioned an official service list by Samsung to repair your watch active 2.
Let’s start with how you can replace your Galaxy Watch Active 2 screen.
Steps to Replace Galaxy Watch Active 2 Screen
Tools & Parts Required
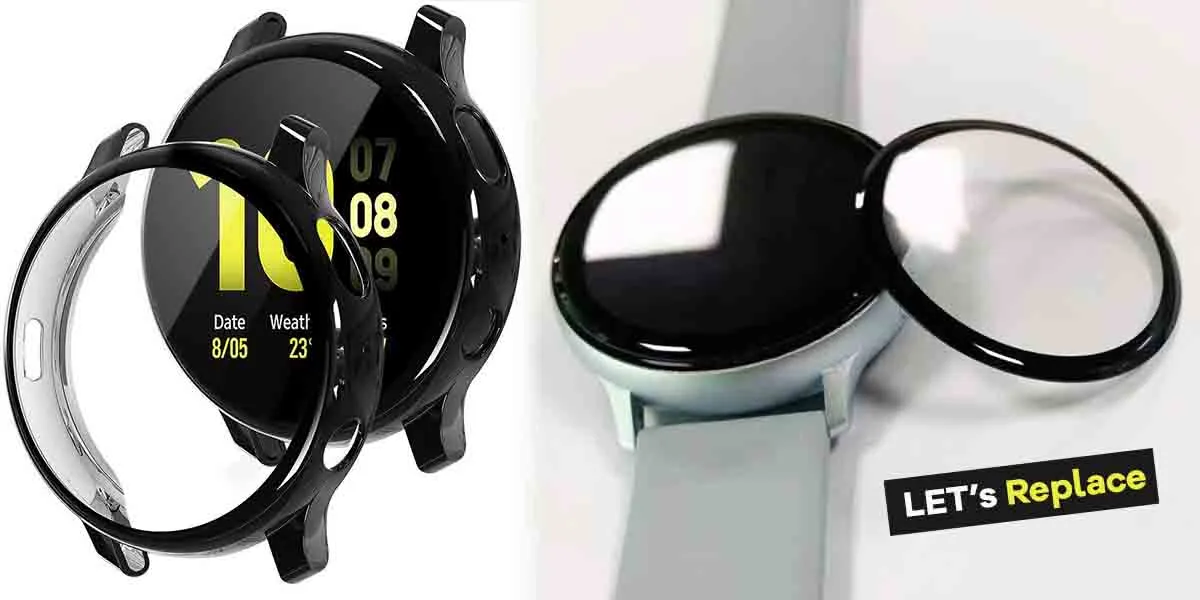
1. Galaxy Watch Active 2 Replacement Screen
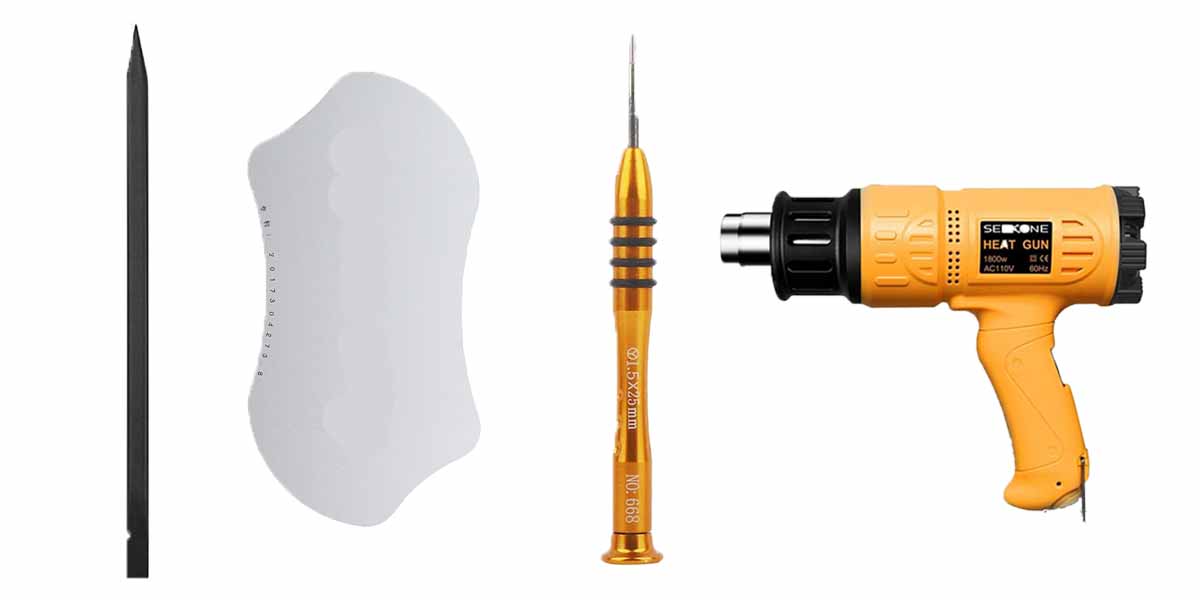
2. Metallic Thin Pry Tool
3. Plastic Bar Pry Tool
4. Tri-Point Screwdriver
5. Heat Gun
Step 1: Get the Replacement Part
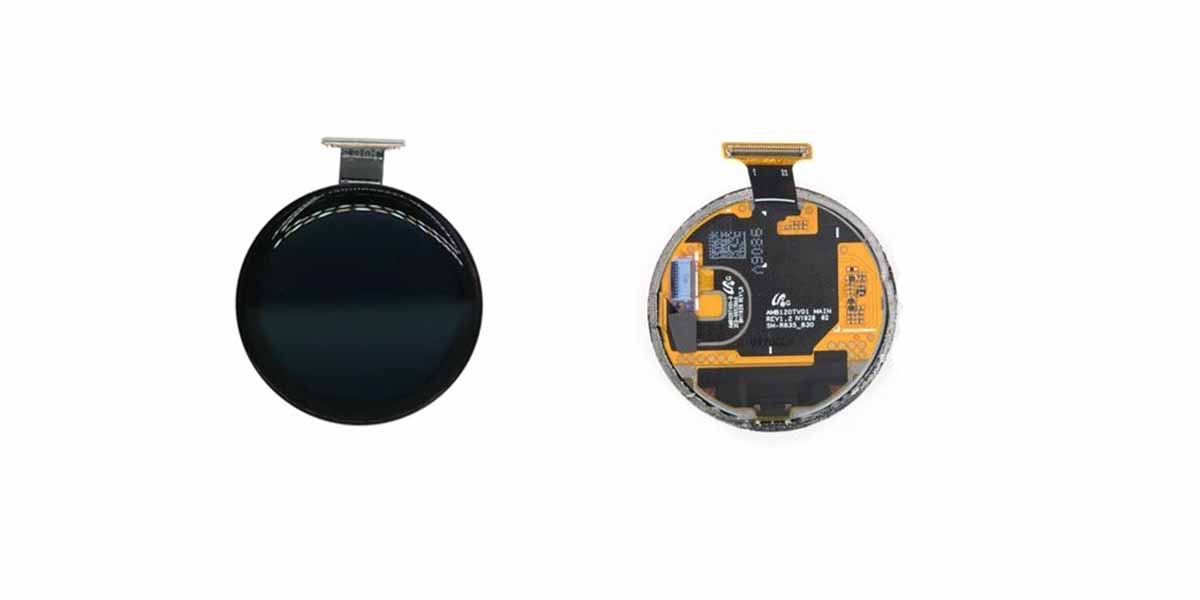
Before you dive straight into the teardown process, make sure you’ve got the new replacement screen in front of you.
You can buy the replacement screen from the Official Samsung Store or get it from Joesge.com. Comparatively, at the Joesge store, the price is quite cheaper than the authorized Samsung service center.
Step 2: Gather the Right Tools
This step is essential.
Gather all the necessary tools, as it will make the process a lot easier for you, and it will also save your watch from getting damaged.
Before starting the teardown process, you must get:
A heat gun to loosen the glue.
A tri-point Y00 1.5mm screwdriver to remove the screws.
A thin metal pry tool to remove the screen from the housing.
A plastic bar pry tool to unplug all ribbons from the board.
You will know more as you proceed with the steps.
Step 3: Turn off the Watch
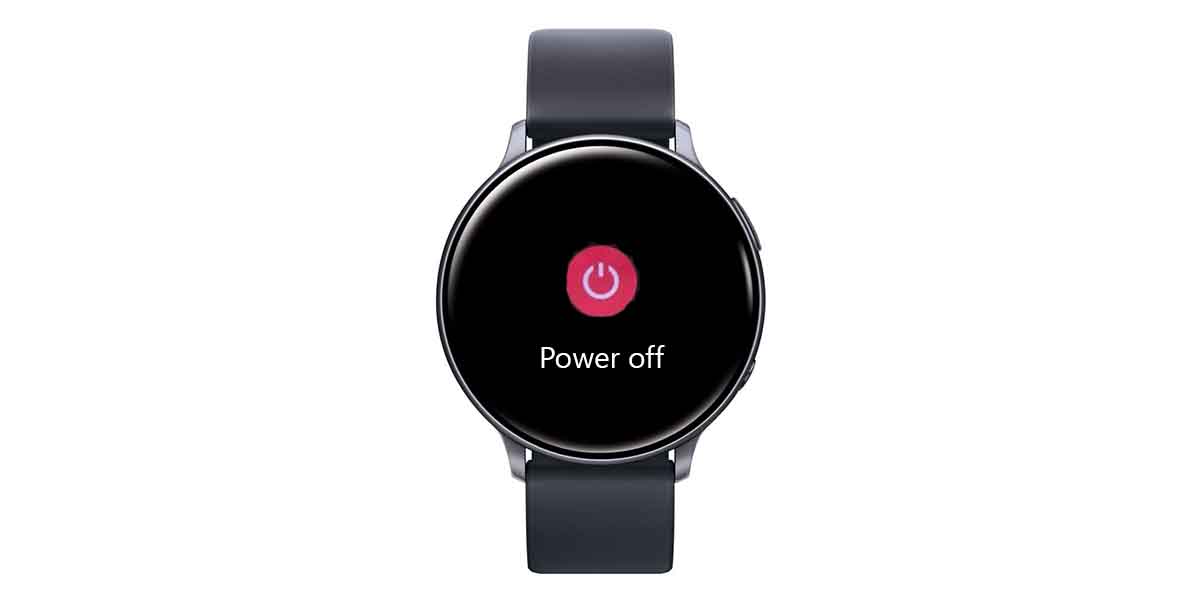
Once you are ready with the tools, start by turning off watch active 2.
To turn off your Samsung Galaxy Watch Active 2, press and hold the down button for three seconds. You will feel a slight vibration when the “Power off” symbol appears. If the screen isn’t visible due to cracks, try randomly tapping on the watch to turn it off.
A pro tip is to wait until the battery drains by itself.
Step 4: Heat the Device
Next, take the heat gun and heat the device to loosen the glue.
Step 5: Unscrew the Back Screws
After that, take the tri-point screwdriver and start unscrewing the screws.
Pro Tip: Press the screwdriver a little harder to unscrew the screw. So, you don’t end up stripping it. Remember, A Stripped screw can be hard to remove.
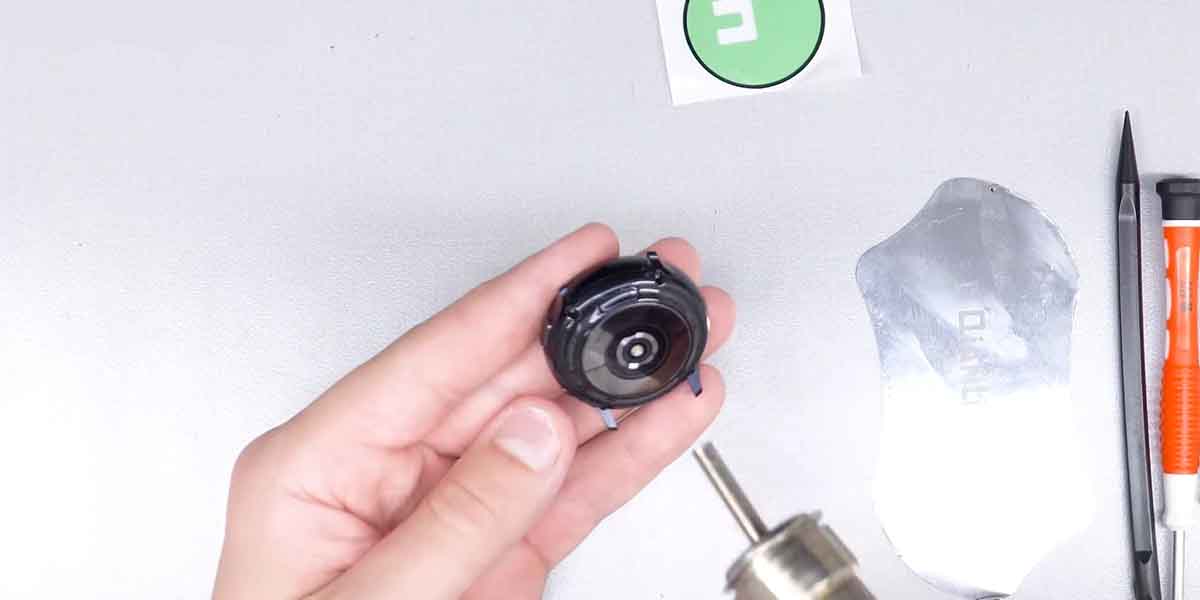
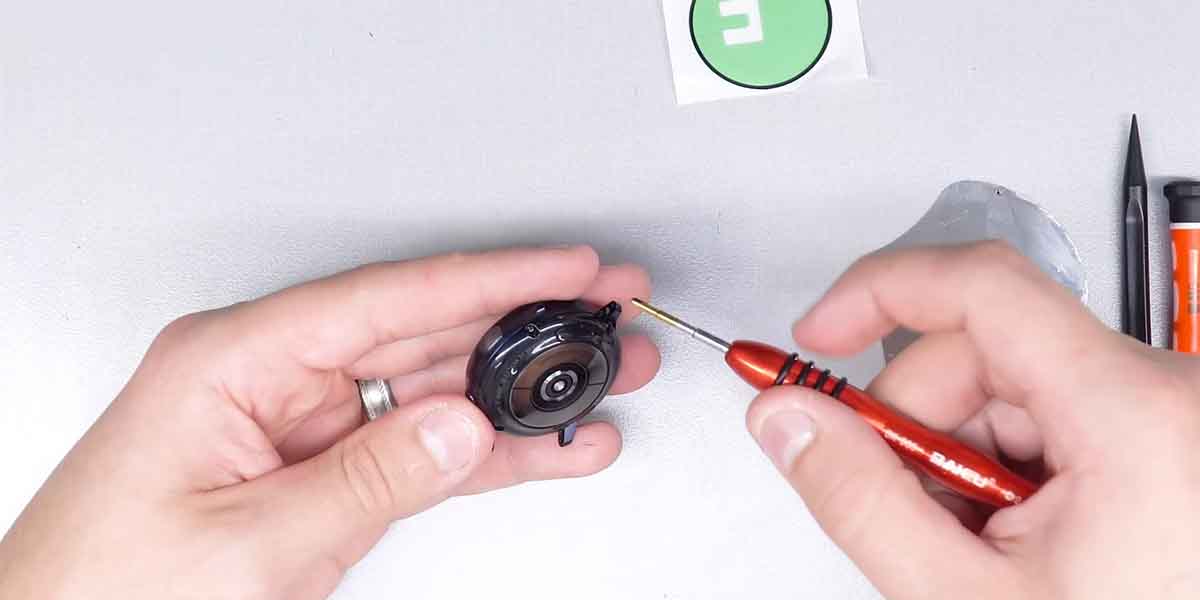
Step 6: Remove Back Cover from Housing

Next, use the plastic bar pry tool to detach the back cover from the housing. Make sure to move circularly around the back cover’s opening to loosen the silicon from all around.
Note: Don’t remove the back cover instantly. There is a cable that connects the HR sensor to the motherboard. First, you have to unhook it and then remove it.
Step 7: Disconnect All Ribbons from Main-Board
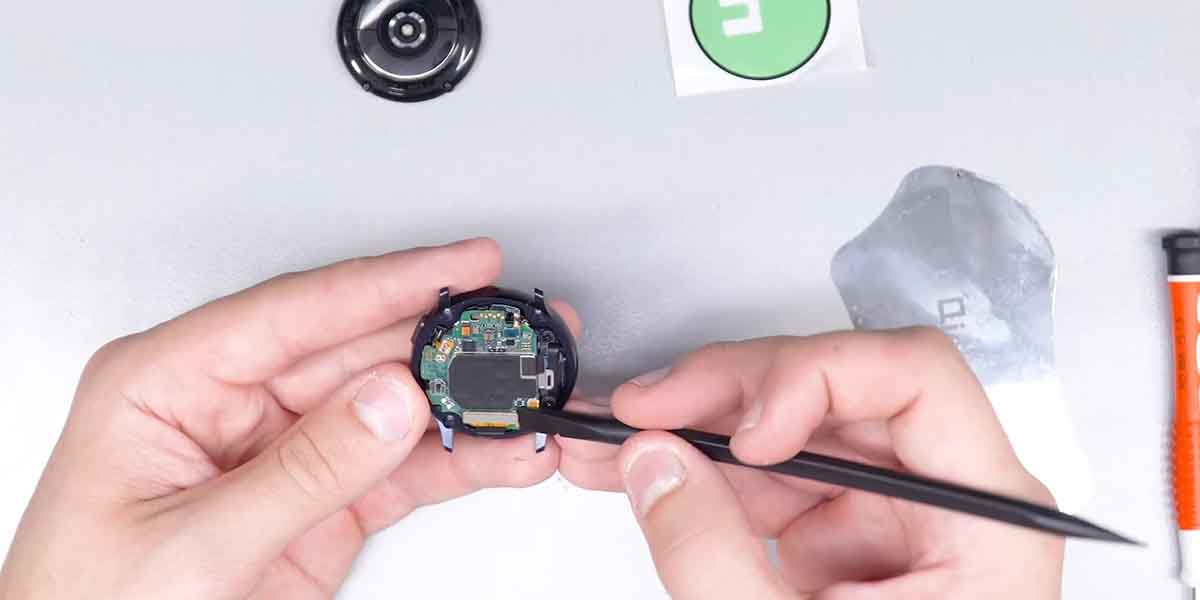
Now, you have to disconnect all the ribbons connected to the mainboard, including LCD ribbon, speaker ribbon, depth sensor ribbon, button ribbon (power and back buttons), and finally, the mic ribbon.
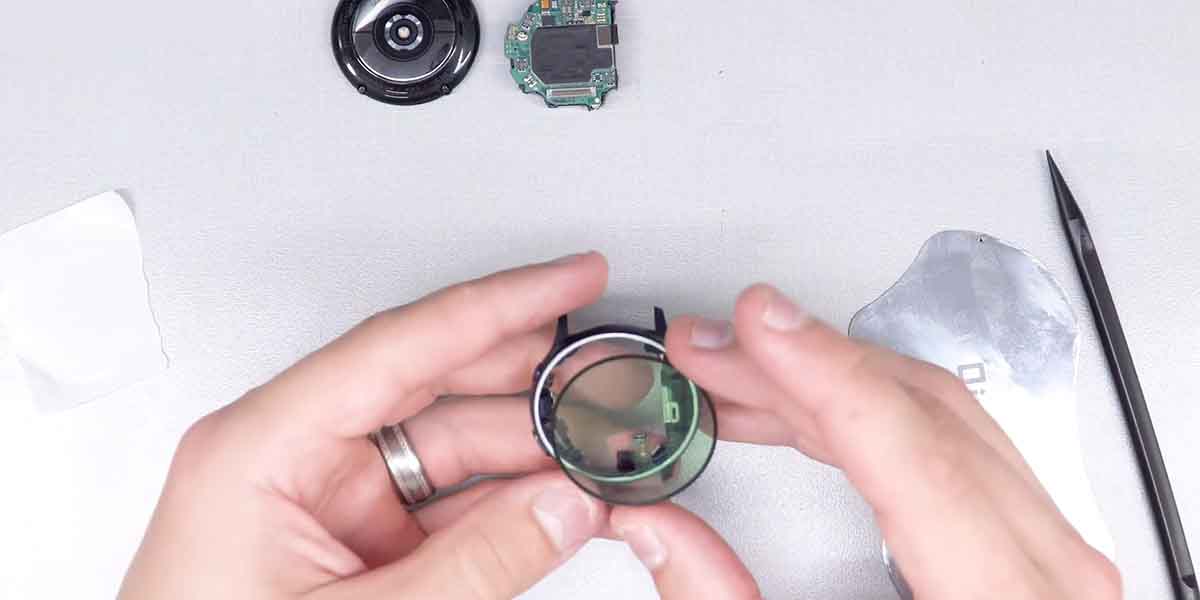
Step 8: Take Apart the Core Assembly
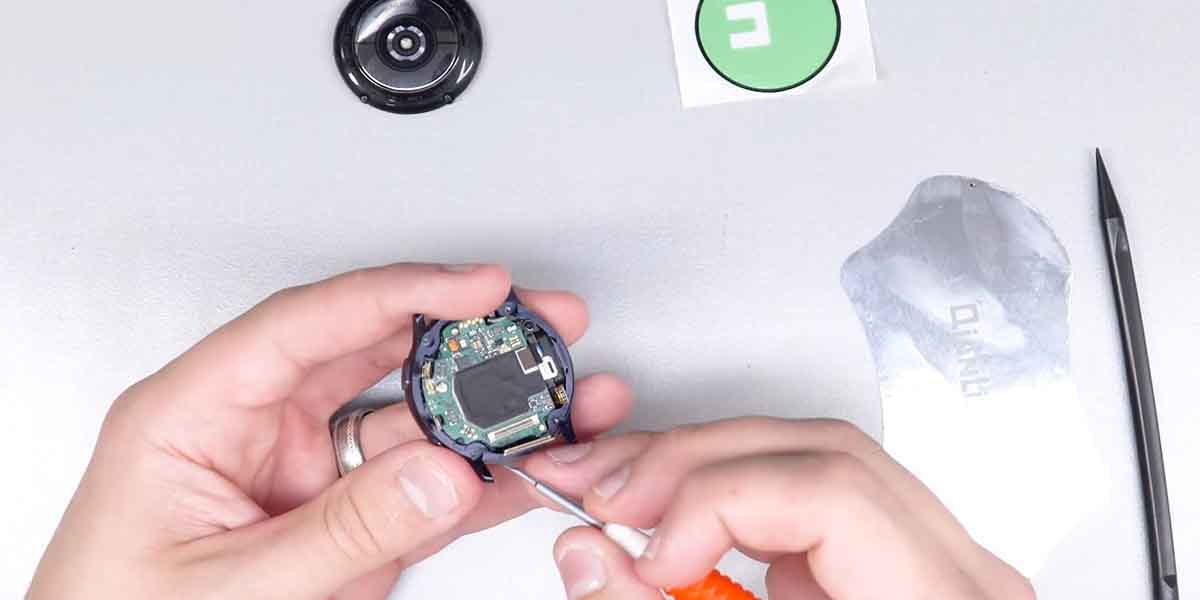
After removing all the ribbons, go ahead and pry up the mainboard. Make sure no ribbon is on the way while you pry up the housing.
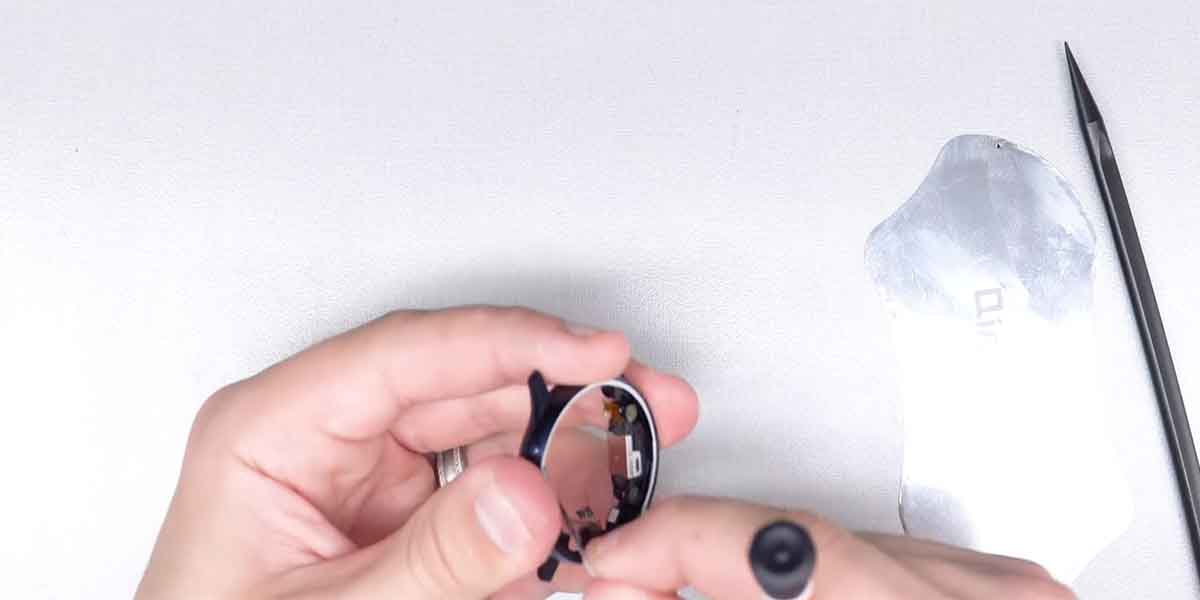
Step 9: Mark where the Ribbon will go
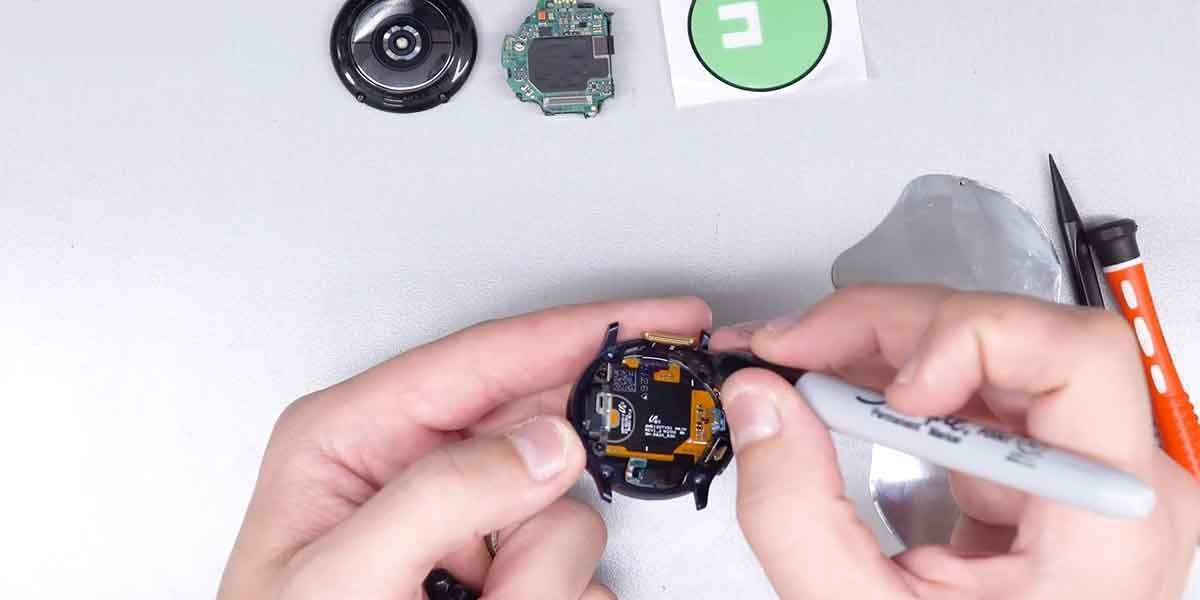
Now mark where the ribbons will go. For that, take a marker and mark where the new screen ribbon will go. Once done, pull out the whole screen.
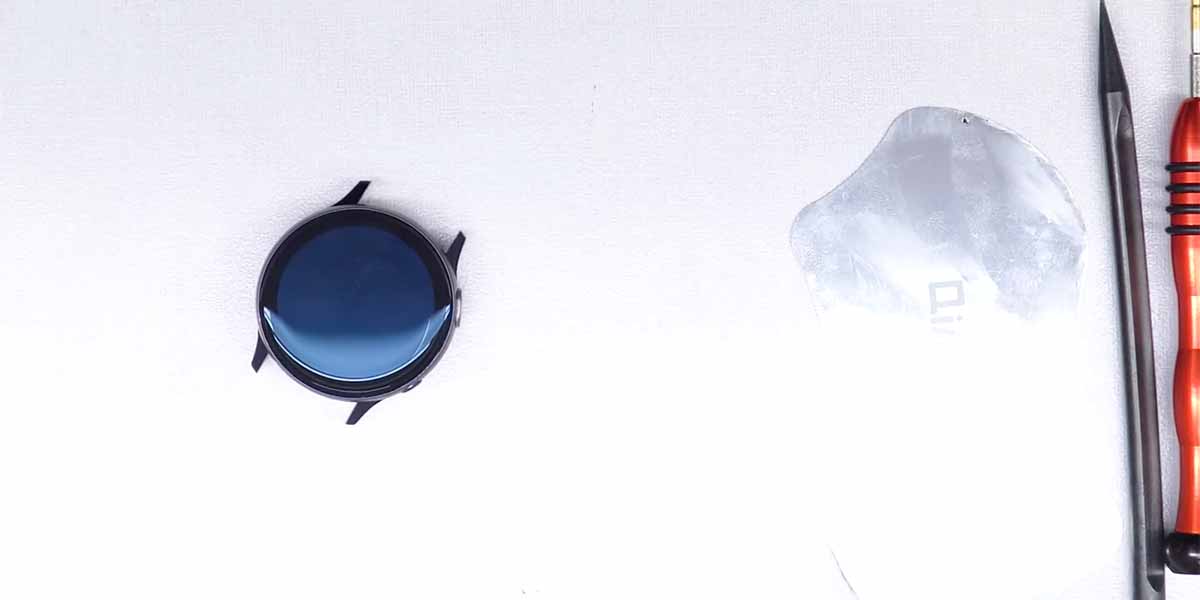
Step 10: Remove the Faulty Screen
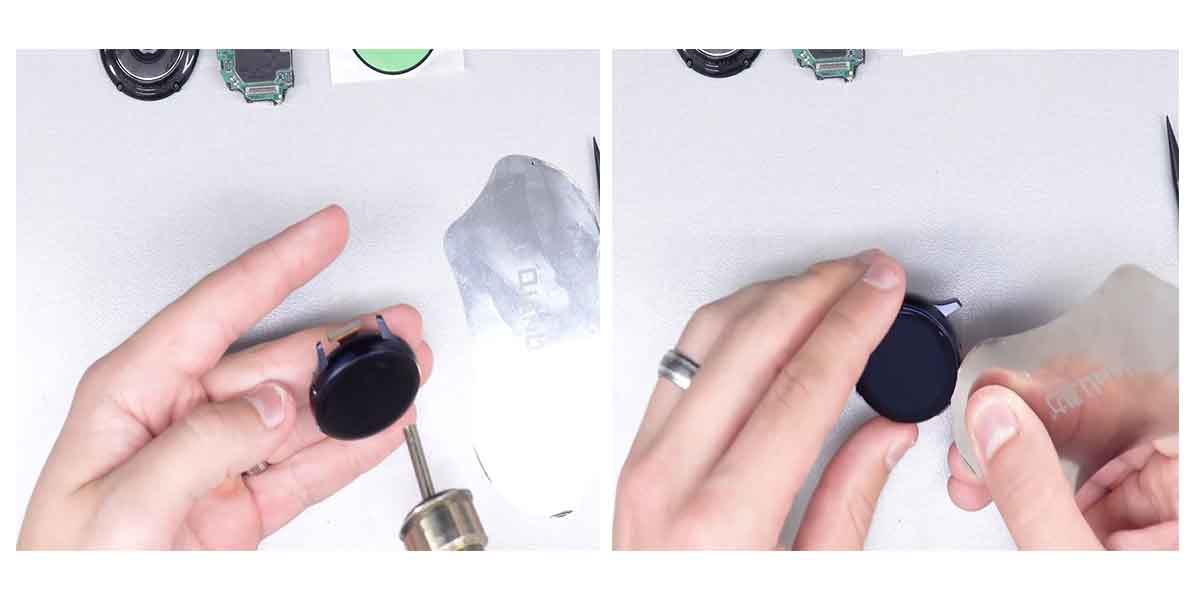
The next step is to heat the screen using the heat gun so that it loosens up the glue. Usually, keeping the heat gun temperature around 280°F to 300°F is recommended (140-150 degrees Celcius.)
Once done, take the thin metallic pry tool and pry up the faulty screen from the housing.
Step 11: Remove the Old Adhesive
After detaching the screen, remove the old adhesive by using the bar pry tool.
Step 12: Apply the New Adhesive
You’re almost done!
Now apply the new adhesive that you get with the new screen replacement.
Step 13: Attach the New Screen
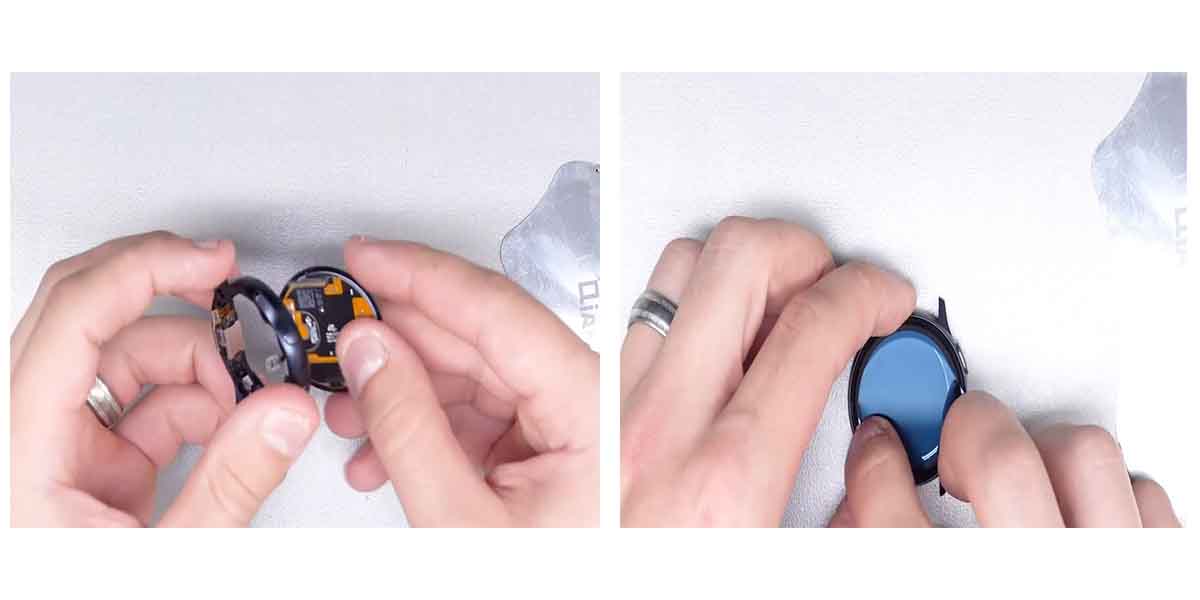
Once it’s done, take the screen replacement and stick it to the housing. Make sure it is well-aligned with your marks.
Step 14: It’s Done, Re-assemble Everything Back
It’s done, the new screen replacement was installed successfully.
Now, repeat the process in reverse order. Put the mainboard back in and make sure all five ribbons are out.
After that, attach all the ribbons back to their respective place. Then, take the HR sensor ribbon, plug it back in place and screw all the screws in properly.
In the end, I will advise you to check if everything is working as it should be. You can do this by testing your new screen properly before attaching the HR sensor.
Also, if you want, you can clean your watch thoroughly with isopropyl alcohol. But make sure you use it in relevant areas.
Well done! You have completed replacing your galaxy watch active 2 screens.
Samsung Screen Replacement Official Price List
The table below shows the official price list by Samsung to replace the Galaxy Watch Active 2’s screen for both LTE and BT:
| DEVICE NAME | MODEL NUMBER | PRICE |
| Galaxy Watch Active 2 40mm (BT) | SM-R830 | $225.00 |
| Galaxy Watch Active 2 40mm (LTE) | SM-R835 | $235.00 |
| Galaxy Watch Active 2 44mm (BT) | SM-R820 | $250.00 |
| Galaxy Watch Active 2 44mm (LTE) | SM-R825 | $235.00 |
You can click here to prearrange a repair with the authorized Samsung service center.
Note: If you’re repairing your watch with an authorized Samsung service center, then the final repair price may vary from the listed price.
More Related to Galaxy Watch Active 2
- 10 Cool Things to Do with Galaxy Watch Active 2
- 11 Cool & Best Watch Faces for Samsung Galaxy Watch
- How to Set Picture As Galaxy Watch Active Background?
- How to Recover Samsung Galaxy Watch Forgot Pin (Easy Steps)
Copyright Disclaimer: Images used in this post may be subject to copyright. We do not own these pictures. If you’re the owner, please contact us before claiming so we can take down those images.